How to finish a Modern Needlepoint Ornament on a Stick
A modern twist on a different needlepoint ornament format
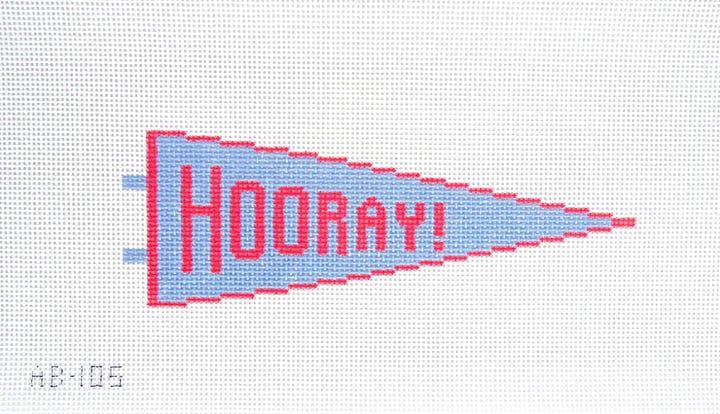
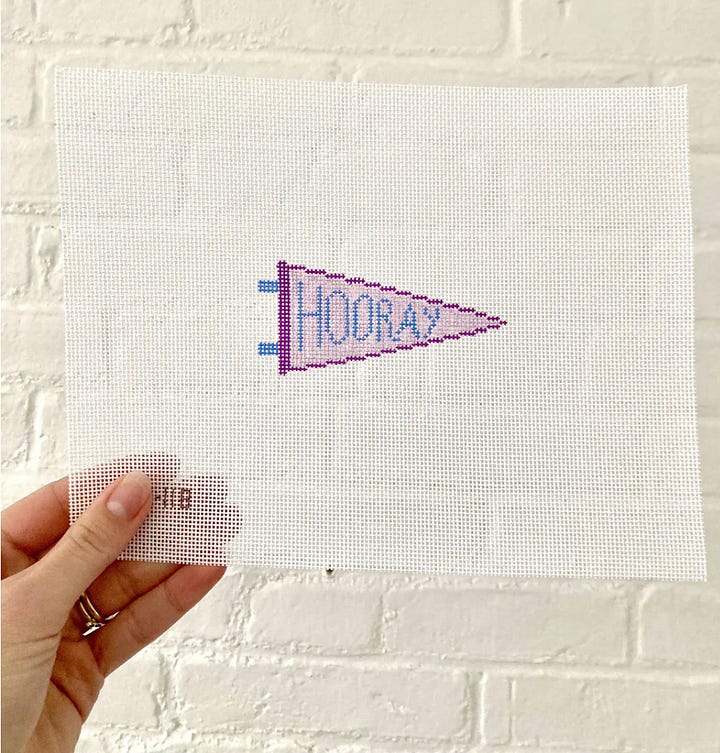
I made this sweet Alice and Blue Horray Mini Pennant for my boys for the first day of school (which is Tuesday if you can believe it!).
I wanted to modernize the ornament on a stick concept and I am so happy with how this turned out.
If you can finish an ornament and join cording, you can do this project. It’s a great beginner project and something a little different than an ornament.
Ornament on a Stick
Difficulty: (1/5) 🪡
Prerequisites
Materials
Refer to my suggested products list for more info.
Your needlepoint, blocked
Backing fabric (here’s how to pick)
Matboard
Dowel, cut to length (I cheated and used a pack of precut dowels from Joann’s)
Ribbons or other accessories
DMC Pearle Cotton 5, made into cording, or pre-made cording
Lacing string such as DMC floss or pearle cotton
Invisible thread or fishing line
Needles, one for lacing (such as tapestry) and one for invisible thread stitching
Ruler or digital calipers
Iron
Traced outline of your needlepoint or photocopy (for special shapes only)
Sandpaper
Acrylic paint or spray paint
Clear gloss or matte spray paint
Detailed Instructional Video
Written Instructions
Prepare the needlepoint, backing board, and cording
You can follow the downloadable guide for basic instructions for completing the front, back, and cording.
Prepare your stick
In my video example, I chose not to decorate or paint the stick because I liked the raw look of it. Experiment with dots, stripes, patterns, ombré, and more.
Lightly sand using a fine grit sandpaper such as P180-220
Apply thin coats of acrylic paint or spray paint. Sand using ultra fine in between coats.
Seal using a gloss or matte top coat spray paint
Add the stick
Secure the stick by applying a small bead of E6000 inside the matboard. Insert the stick and let dry until tacky, using Wonderclips to secure while it dries.
A note on glue. I normally do not use glue on my finishes and you’ll always know if I recommend using glue for yours. That said, I think glue has utility in some areas of finishing and various formats.
Sew on your cording
Just like in a basic ornament finish, add your cording around the parameter. When you get to the stick, run your invisible thread around the stick. You don’t need to do anything special to adhere it. Then, join your cording using the following technique.
Adding your fun ribbons
Cut ribbons to desired length, leaving extra to trim later. Stack your ribbons and tie a ribbon in a square knot around them to make a bundle. Tie the bundle to the stick, positioning it near the base of the needlepoint.
If desired, adding a drop of glue can secure the ribbons. You could add tassels, go high-end for your ribbons, or add a ton of different textures and styles. Whatever suits your project best.
You’re done!
This is an easy to master technique if you’re proficient in ornament finishes. Wave your little Horray Flag for all to see!
Canvas Inspiration
Here are some other canvases that would be darling in this finish.


Sources
Peppermint Canvas, KC Designs, order from any LNS. How cool would this look on a stick with the stitched top wrapped in tulle like a candy lollipop?! I mean….
Horray Pennant and Horray Mini Pennant, Alice and Blue, order direct or from any LNS. I ordered mine through Greystone Needlepoint.
Votes for Women, One Part Whimsy on Etsy
Flag canvases, stars, hearts, etc
Have you tried ornament on a stick finishes before? I’d love to hear from you!


Beautiful job! Thank you for sharing!