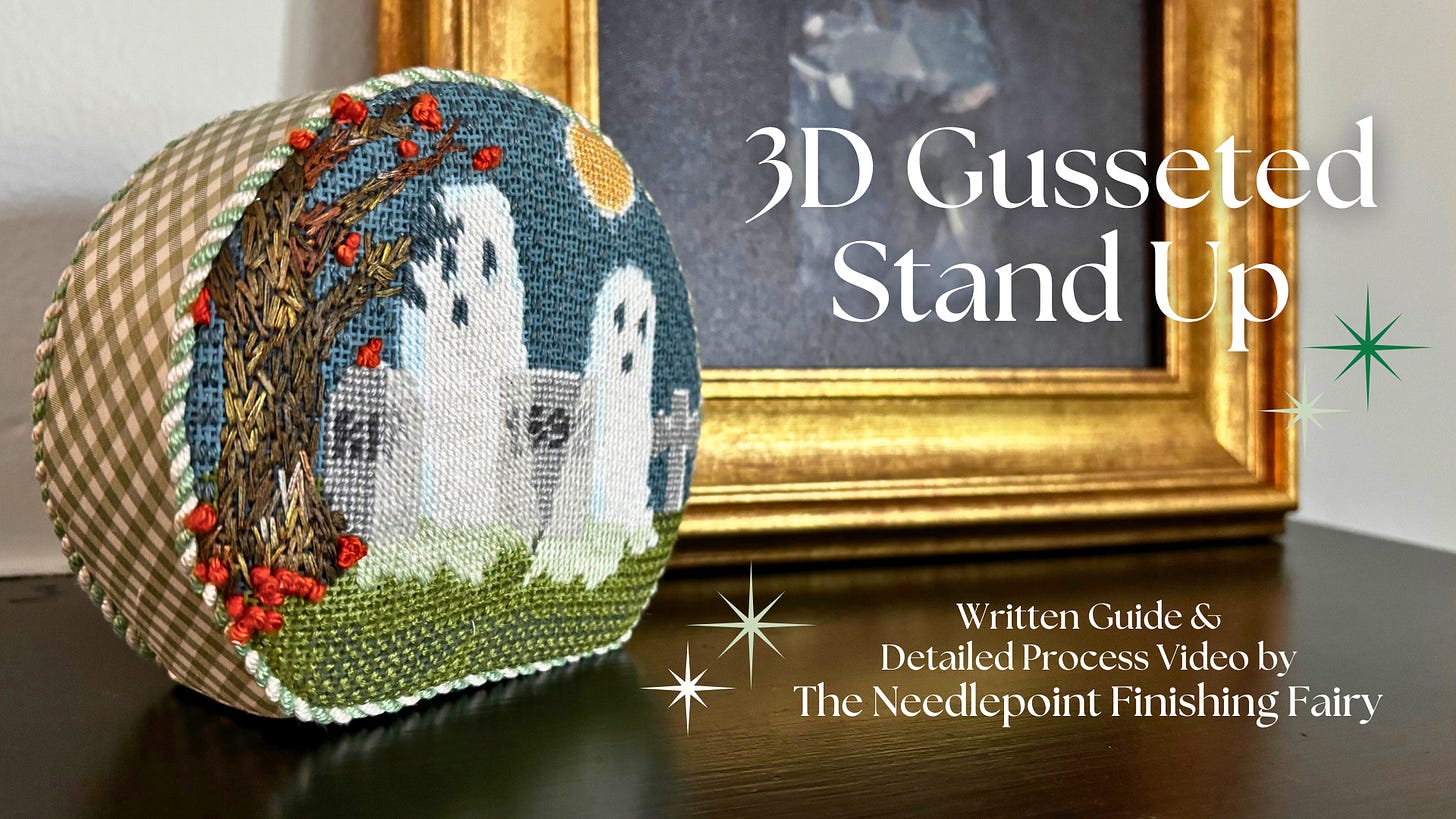
How to finish a needlepoint 3D gusseted stand up
With an entirely acid-free and glue-free approach
A 3D Gusseted Standup finish is a beautiful option for larger ornaments to mid-sized canvases that you’d like to display on a horizontal surface like an entry table or bookshelf. It can lend a bit of visual heft that may be lacking if you opt for an acrylic foot standup or hanging sign. You can add fun ribbons and trims on the top of your standup if you’re into that!
This finish seems scary to execute but I promise that if you’re proficient at ornament finishes and joining cording, you can do this finish.
Canvas: The Spooky Series - Graveyard 31D available through your LNS
Designer: Plum Stitchery
Format: 3D Gusseted Standup essentially means that the canvas is on the front of a custom-constructed foam box, covered in fabric. That foam box gives the object depth, rather than it being basically a 2D flat object. They commonly have feet and weights on them. Sometimes you’ll see them adorned with bows and accessories on top.
Process: The resources I have seen all use precut Styrofoam or foam insulation products and some amount of hot glue. I have used both of these and think they can be good options!
That said, I’m always trying to add something different to the needlepoint tutorial scene and I wanted to see if I could do it both acid-free and glue-free.
🤷🏼♀️ You can read more on my “it depends” feeling on glue here.
Below, you’ll find the detailed, private subscriber-only process tutorial video, comprehensive list of materials and supplies, and written instructions. Let’s jump in!
3D Gusseted Standup with No Glue
Difficulty: 3/5 🪡🪡🪡


