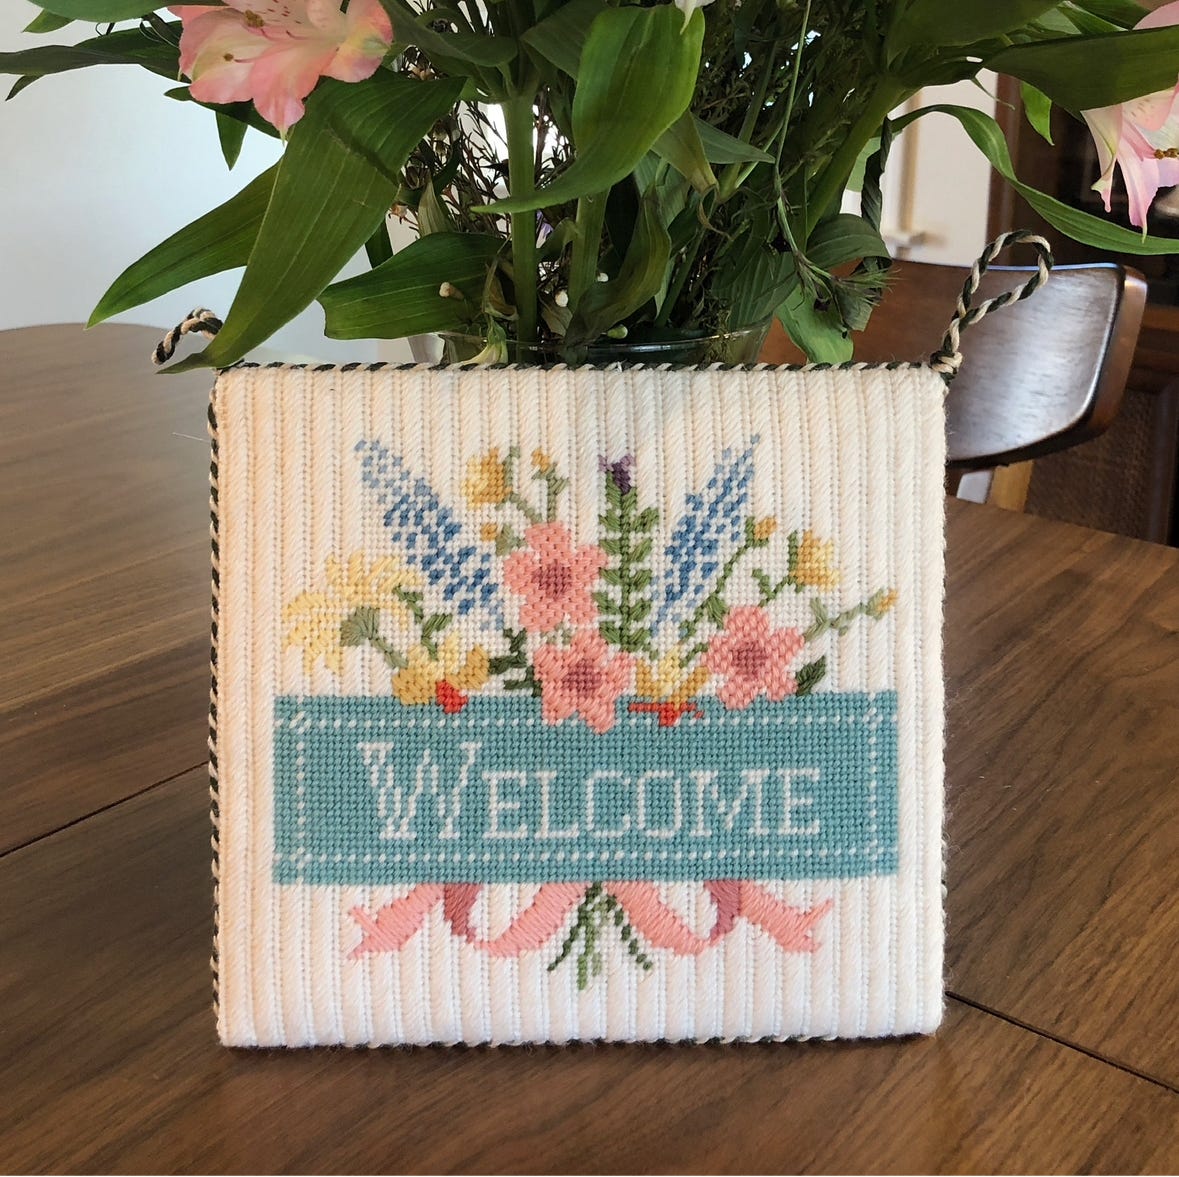
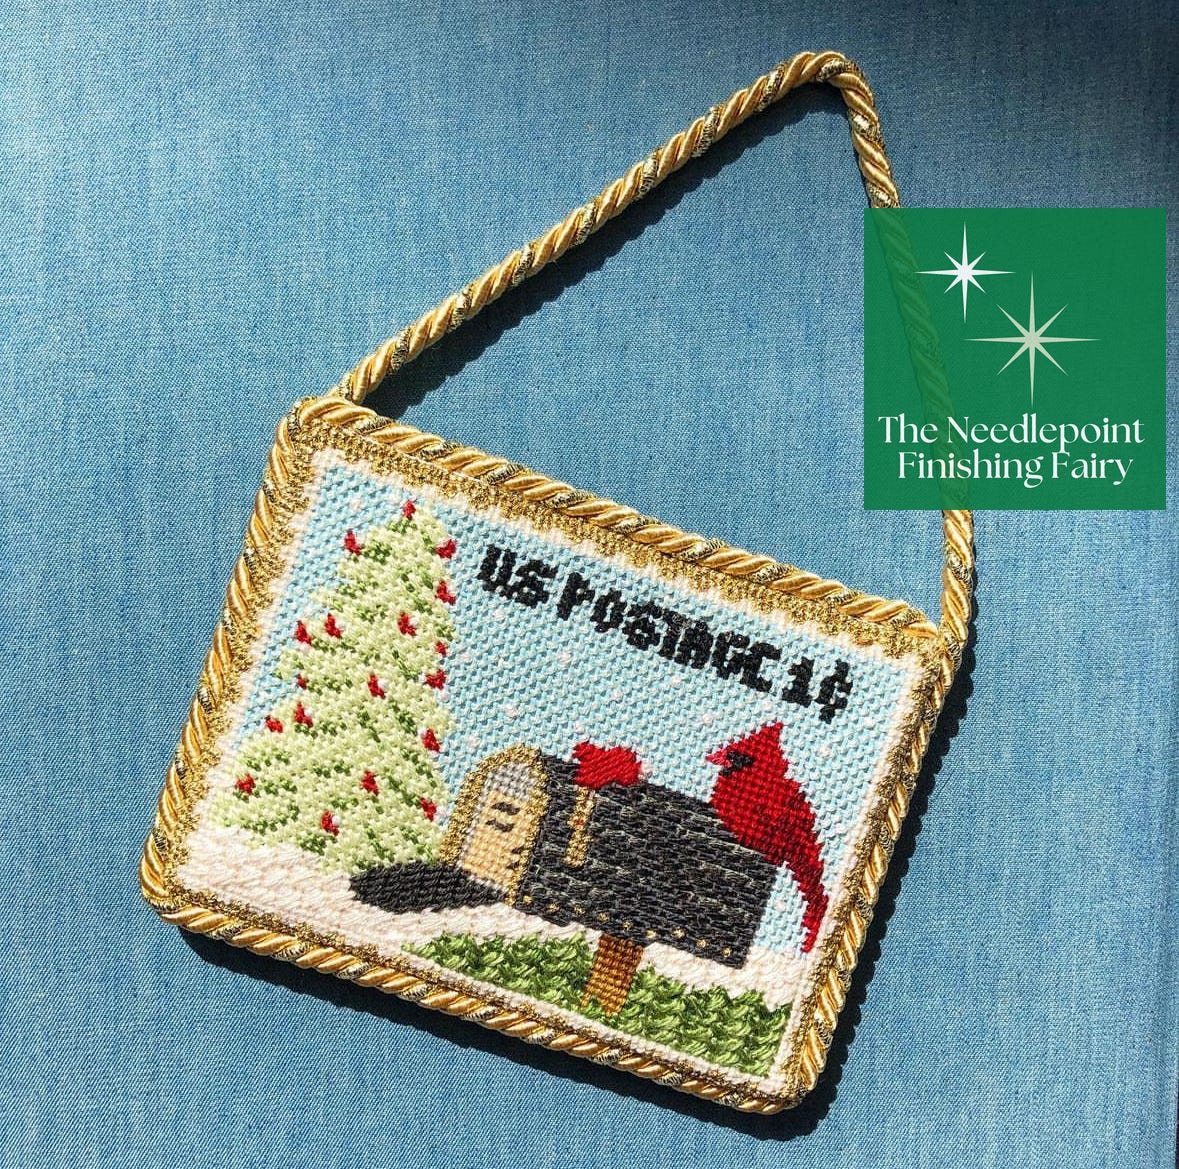
Custom cording using the Lacis
Plus a downloadable: cording size recommendations by project size
Mastering your cording technique is one of the fundamental skills in needlepoint finishing. Once you’ve perfected it, you will be pleased with the professional-looking results you can achieve on your own.
This guide covers
How to make custom cording using the Lacis, my preferred method
Different effects and materials
How to make custom twist cording for your needlepoint project
Materials
2-3 Skeins of your preferred cording material. For most applications, I use DMC Floss or DMC Pearle Cotton 5
Tape (Optional, you can use an acid free tape such as this framers tape)
A jig with 4 cup hooks or other attachment. Something like this cup hook shelf could work really well. There are also tutorials out there for using your KitchenAid mixer dough attachment. What you need is something that can hold your floss steady and separate bundles while you’re twisting and putting tension on it until you’re ready to twist the colors together.
You can find a full list of recommended finishing materials here or on my Amazon storefront.
Detailed Process Video
This video covers constructing cording using the Lacis cording maker.
User be warned: the Lacis cording maker is not the highest quality device. You have to be very careful with it and I’m on my fourth unit. That said, the Lacis yields the most professional looking results compared to other methods like the Kreinik maker or a drill, which I’ll cover another time.
Instructions
These instructions are for making a 3 color 12 total strand cord. Each color has 4 strands in it. I refer to each color as a “bundle” for lack of a better term. There are 3 bundles, each different colors here, but could all be the same color for a nice solid-color twist.
Cut your floss to the desired length for your finished project, 12 total strands. There are ways to speed this part up, like using a template to make consistent lengths. I use two cabinet pulls that measure 38 inches apart. Using this measurement, I have enough material for two 5 inch rounds from three skeins.
Tie them or loop them on your jig.
Loop them into your Lacis, being careful to match the colors in order so they don’t criss cross. Check for even lengths and tension across each of the colors. Clip off excess so it doesn’t get tangled. I like to leave 3/4” to 1” maximum here. The spring mechanism should hold it in place.
The floss running from your jig to your Lacis should be gently taught. Slide the button on the Lacis to 1 to begin to twist. This first step twists each bundle on its own. Then, when you have a nice tight twist but before it starts to double up on itself or bunch up, stop twisting.
Quick Tip: The key to a really great twist on the Lacis is actually in the first twist, so be sure its tight enough without doubling up or bunching.
Slide the button on the Lacis to 2 to twist your color bundles together.
Quick Tip: Sometimes I get cording that has a color jump (one of the bundles gets out of order, as seen here). So before doing this step, I much prefer to “pre-twist” it to avoid the colors jumping over each other and getting out of order across the length of the cording. I rarely remember which direction to pre-twist so I give it a little gas and then pre-twist by hand.
The cording will begin to jump and dance when you’re about half way through. It reminds me of a jumprope if you’re doing it right. When it begins to tension again, you’re close to done. Stop before it doubles on itself or begins to bunch up. You’ll hear the Lacis begin to slow. Avoid over tensioning and putting stress on your Lacis.
Remove the ends from the Lacis and knot or tape.
Remove the ends from the jig and knot or tape.
Different Cording Effects for Needlepoint
Number of Colors
One of my favorite ways to customize is to play with the number of colors. The Lacis has four prongs, so you can achieve a variety of different effects like 3 bundles of one color, 4 bundles of different colors, mix and match colors in the bundles to create a blended effect, the list goes on. One of my favorite effects these days is two bundles of one color and a third bundle of another color, because this gives a pop of color without distracting from the canvas.
Play with Scale
You can play around with different scale for cording on your projects. I personally like a finer cording on smaller projects and on 18 mesh projects so it doesn’t overwhelm the project. Think 12 total strands or fewer. Larger projects often warrant a larger cording.
You can elevate the look of your finish by selecting cording that’s an appropriate scale for your project.
For my finishes, I now consider the scale of the project and also the scale of the stitching. I’ll give you an example. In the photo below, I had just started creating custom cording and sewing on. The scale isn’t right and I want to redo this at some point. This finishing fail inspired me to track the cording I like for various canvas and mesh sizes, which resulted in the Cording Size Recommendations guide at the end of the article.
As a newer finisher, you may find that wider cording helps you hide some edge blunders a little easier, but as you get more practice you can get a thinner cording if desired.
Different Materials
Playing around with different materials is also very fun and can lend different effects for your projects. For example, Andrea added Flair to this cording in this project to achieve a bubble effect without distracting from the canvas.
From Andrea’s caption: I used Flair in the cording to coordinate and give a bit of a bubbles effect, without distracting from the stitching
Finishing: @PlayingNDLPT
Stitcher: @maggieschiffer
Canvas Designer: Crude Canvases
As another example, Amanda added beads to her cording here, which is a lovely, elevated detail for canvases worthy of a little extra sparkle. I’ll do a tutorial on this in the cording series. More to come.
From Amanda’s caption:
Finishing: @Amandas_NLDPT_Finishing on Instagram (another Amanda!)
Stitcher: @thelaidbackstitch
Finally, I always love a funky halloween cording like this one from the Needlebug, an LNS in Alabama. I’m not sure the type of material, but I would guess Eyelash or something similar.
Metallic Cording
I highly recommend mixing a metallic another fiber with another color in a twist. The other fibers will help soften the loop and structure, making it easier to work with and resulting a more even and nicer looking cording.
Popular product options for metallic cording
DMC Metallic Pearl Embroidery Thread: Widely available in craft stores. It is horribly difficult to work with. It’s approximately $5 for 27 yards yielding a few ornaments but honestly I usually just toss the rest because its terrible and swear I’ll never return to it (before I do hehe).
Kreinik Metallic Braid: More expensive, it runs approximately $5-7 for 10 meters. It is far easier to work with than DMC. It comes in a variety of sizes. I recommend #12 for cording.
Pre-Made Cording
I think pre-made cording is one of the best “bridges” to building out your self-finishing skills. Getting a tight and even twist cord is TRICKY stuff and takes some time and practice to master. If you’re intimidated by making cording or are short on time, pre-made twist cord could be a good option for you.
Commercially Made: Look for 3 MM size which seems to be a good scale for needlepoint (personally think 4 MM looks a little chunky and could overwhelm a smaller project). I’ve used this one from Amazon - slim pickings in 3 MM to be honest.
Finisher Made: There are also finishers that offer pre-made cording (One Part Whimsy for example)


For DMC cotton is a strand is one of the six threads? Correct?
What about measuring for one item? Do we wrap it 4 times and then do that length by 3 or 4? That's the formula I always seem to mess up.