Spoonflower for needlepoint finishing: Part 1
pros/cons of the online fabric printing service, top tips for ordering, important finishing notes
Ordering custom fabrics from Spoonflower is a fun way to personalize your needlepoint finishing. If you haven’t tried it, this online shop uses a print-on-demand process to create your fabric, wallpaper and other items when you order.
Spoonflower has a few tricks to learn and a few drawbacks to navigate, but otherwise it’s a good option for needlepoint finishing fabric. It offers endless design options, and affordable price point, and the ability to upload your own pictures to capture precious memories on fabric.
In this post
Some pros and cons
Getting the scale right for your project
Tips for finishing with Spoonflower fabrics
In the subscriber-exclusive part two, we’ll cover
Step-by step how to print photo fabric on Spoonflower so it fits your project
I provide an editable template so you can size your photo for a 4” round ornament perfectly
I review the Spoonflower sample box and provide recommendations for various materials by format
Some pros and cons
There are literally endless design options! You can color match anything even if you don’t select the fiber ahead of time (guilty)
There are many fabric options perfect for a variety of finishes
You can get very nice designer-inspired fabrics on a budget (they also run great sales!)
The printing process isn’t perfectly true to color. I’ve found this more prevalent on certain fabrics particularly on the photo-upload feature. Interestingly, the printing quality (sharpness and vibrancy) varies considerably based on material selection.
I do think that if designer fabric is in your budget, you’ll be happier with the true and vibrant colors offered by traditional fabric production processes. Because it’s a printed process, there’s no textural interest.
Getting the scale right
One of the biggest learning curves to Spoonflower is assessing the scale of your print. Designers can put whatever scale they want in the thumbnail so when you’re browsing through patterns, the scale is really not accurate. You have to do some digging. Designers may release their designs in different colors, scales, or pattern repeats.
Some designers add keywords like “MEDIUM” in this example above to indicate print size. The“MEDIUM” indicator the product description tells me that this designer probably has this print in other scales.
Click in to the product page to get a better sense of the scale using their grid. Then consider your project. For an ornament, you’re really only looking at the pattern in the top leftmost corner.
This always throws me off, because the scale is often a lot bigger than I expect! Take a look at how much would actually show for a 4 inch round:
To see if the designer has similar prints in different scales, scroll on the product page to see the designer’s collection.
In the collection, I found these options I thought would work. In order: medium (shown above), small, mini.
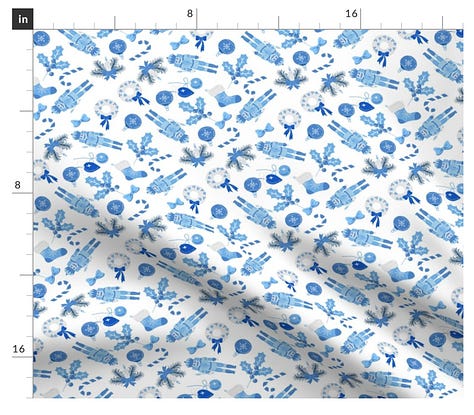
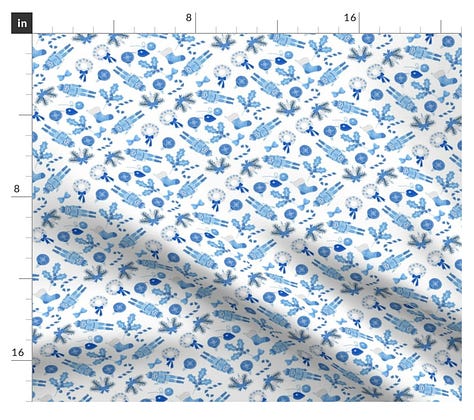
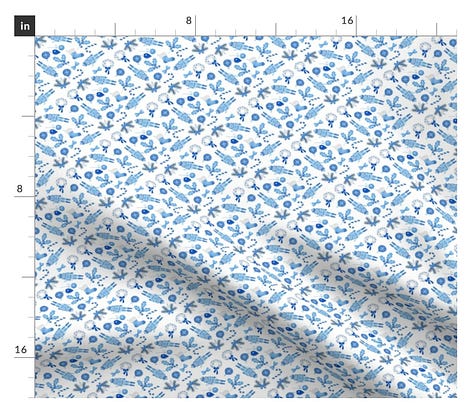
I then scaled them in Canva (free!) to see how they’d look (below).
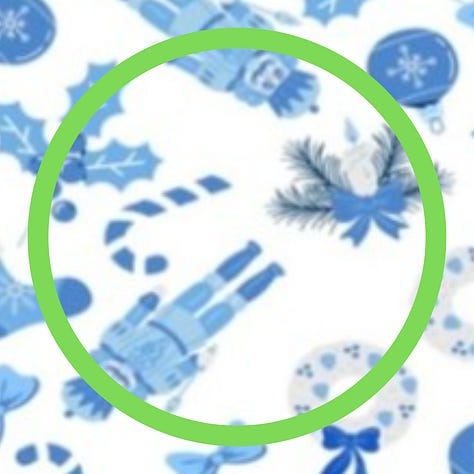
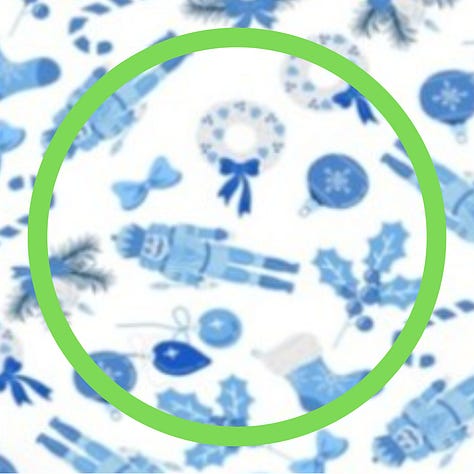
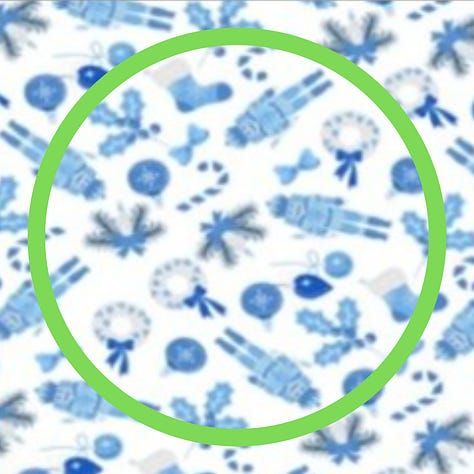
You can eyeball this by looking at the tick marks, too but apparently I need more of a visual! I outlined a 4 inch round (in order: medium, small, mini).
I like the mini scale for an ornament and would probably go with the small option for an interior of a pouch or clutch.
To get the scale right, look for designs with a size description (medium, tiny, large) in the title so you can find other scale options in that collection that best fit your project.
Ordering
An 8x8 swatch is perfect for most finishes smaller than 6x6. I’ll cover this extensively by project and fabric type in part 2.
You can also order a yard of various fabrics using Fill-a-Yard. Select an existing collection or create a collection first. Then select fill-a-yard to add your collection to the fabric. Using the Cheater Quilt 6” squares would be suitable for most 4” rounds
Tips for Finishing with Spoonflower Fabrics
Spoonflower fabrics take a little extra love when finishing.
Pre-wash and press your material.
This removes the sizing from the fabric and will make it easier to work with. It also reduces some of the needle prick issues I talk about below. If you are sending material to a finisher, get this step done on your end before sending in.
Use the tiniest needle you can.
Because Spoonflower is a printed process, it’s prone to needle pricks and the base white showing through. Try use a beading needle when attaching cording with invisible thread. Ensure you’re entering the fabric from the printed side so you’re not exposing any white material. This takes a little extra maneuvering because I usually poke the needle down through the needlepoint and out through the fabric, but using Spoonflower fabric, its sometimes best to do this in two steps.
In case of emergency, the selvedge edge lists a design number.
If you need to reorder, simply type this number into the search bar. If the design is public, it will pop right up and you can reorder. Keep in mind, this doesn’t work if you’re uploading a photo and it’s set to private!
Make it a double.
If you’re sending a custom photo print to your finisher, love you so much if you could include two. This is especially true if you’re getting embroidery. Spring for the extra $5, give her a back up, and take some of the sweat out of it. Your finisher would love you forever.
(And I’ll bet if you’re self-finishing, you’d love this, too). This isn’t really necessary for other swatches for most prints, because in case of emergency, it can be reprinted by your finisher using the code on the selvedge (been there, done that haha).
If you’re custom printing for a round that’s smaller than 4 inches, you can fit 4 of them on a 8x8 swatch so you don’t need to make it a double.
Inspiration
Here’s a sample I finished for Annie of Ziggy Stitches using a Spoonflower fabric she sourced and sent along.
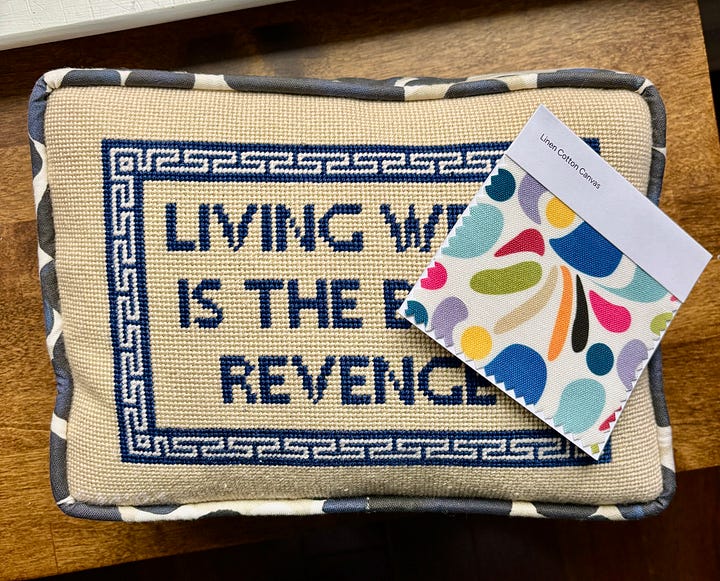
Here’s a pillow finished in Spoonflower fabric. I used Linen Cotton Canvas. It is holding up exceptionally well.

Join the The Needlepoint Finishing Club as a member to unlock part two
Step-by step how to print photo fabric on Spoonflower so it fits your project
I provide an editable template so you can size your photo for a 4” round ornament
I review the Spoonflower material sample box and provide recommendations for various materials by format (and which to avoid for needlepoint finishing)
Spoonflower Part 2: Printing Photo Fabric Tutorial & Best Fabrics for Finishing
This is a long post, one that won’t show entirely in your inbox. I hope you jump over to the article on the web to view it’s entirety if the email version is cut off.
How about you?
Have you used Spoonflower? What other tips would you add? Do you have a favorite designer? Would love to hear from you.


I just ordered a “fill-a-yard” and this was so helpful when creating a list of things to do once the fabric arrives!!! THANK YOU
This is so helpful! I’m excited for part two & how to do the photo on the fabric. I heard it was hard and as a result haven’t tried it yet. Thanks for such wonderfully detailed posts.