


Acrylic for Needlepoint Finishing Part 2: Pre-Made Options
comparing options built for just needlepoint + tips for adapting mass-market items

In part two of the acrylic for needlepoint finishing series, we’ll talk about pre-made for needlepoint and adapting mass-market acrylic items. You can read part 1 below.

In the next post in the series we’ll talk about custom fabrication. Finally, we’ll wrap this series with a few items for paid subscribers.
Tutorial: Detailed process tutorial on how to finish a flat for an acrylic tray
Specifications sheet: Downloadable guide to getting your measurements right

Your acrylic options built for just needlepoint
The needlepoint is finished as a flat and is typically either slid into the object, encased in the acrylic using magnetic closures, or encased between two snug pieces of acrylic.
Pros
You know the needlepoint is going to fit. This is not always the case with adapting a mass-market option (especially when it comes to depth)
The needlepoint is generally protected more than a mass-market option
They come in common canvas sizes and are generally available through LNSes and online providers
If finished correctly with a snug fit, any canvas can look custom
Cons
You pay needlepoint tax. These are often pricey!
Some options can appear bulky or show their magnetic hardware, which I think detracts from the overall look vs. a custom fabricated option
Compared to custom, you’re limited to size and format for a snug fit.
Quality can vary. Take for example these two pieces, both sourced from LNSes. One has significantly more bubbles in the seam.
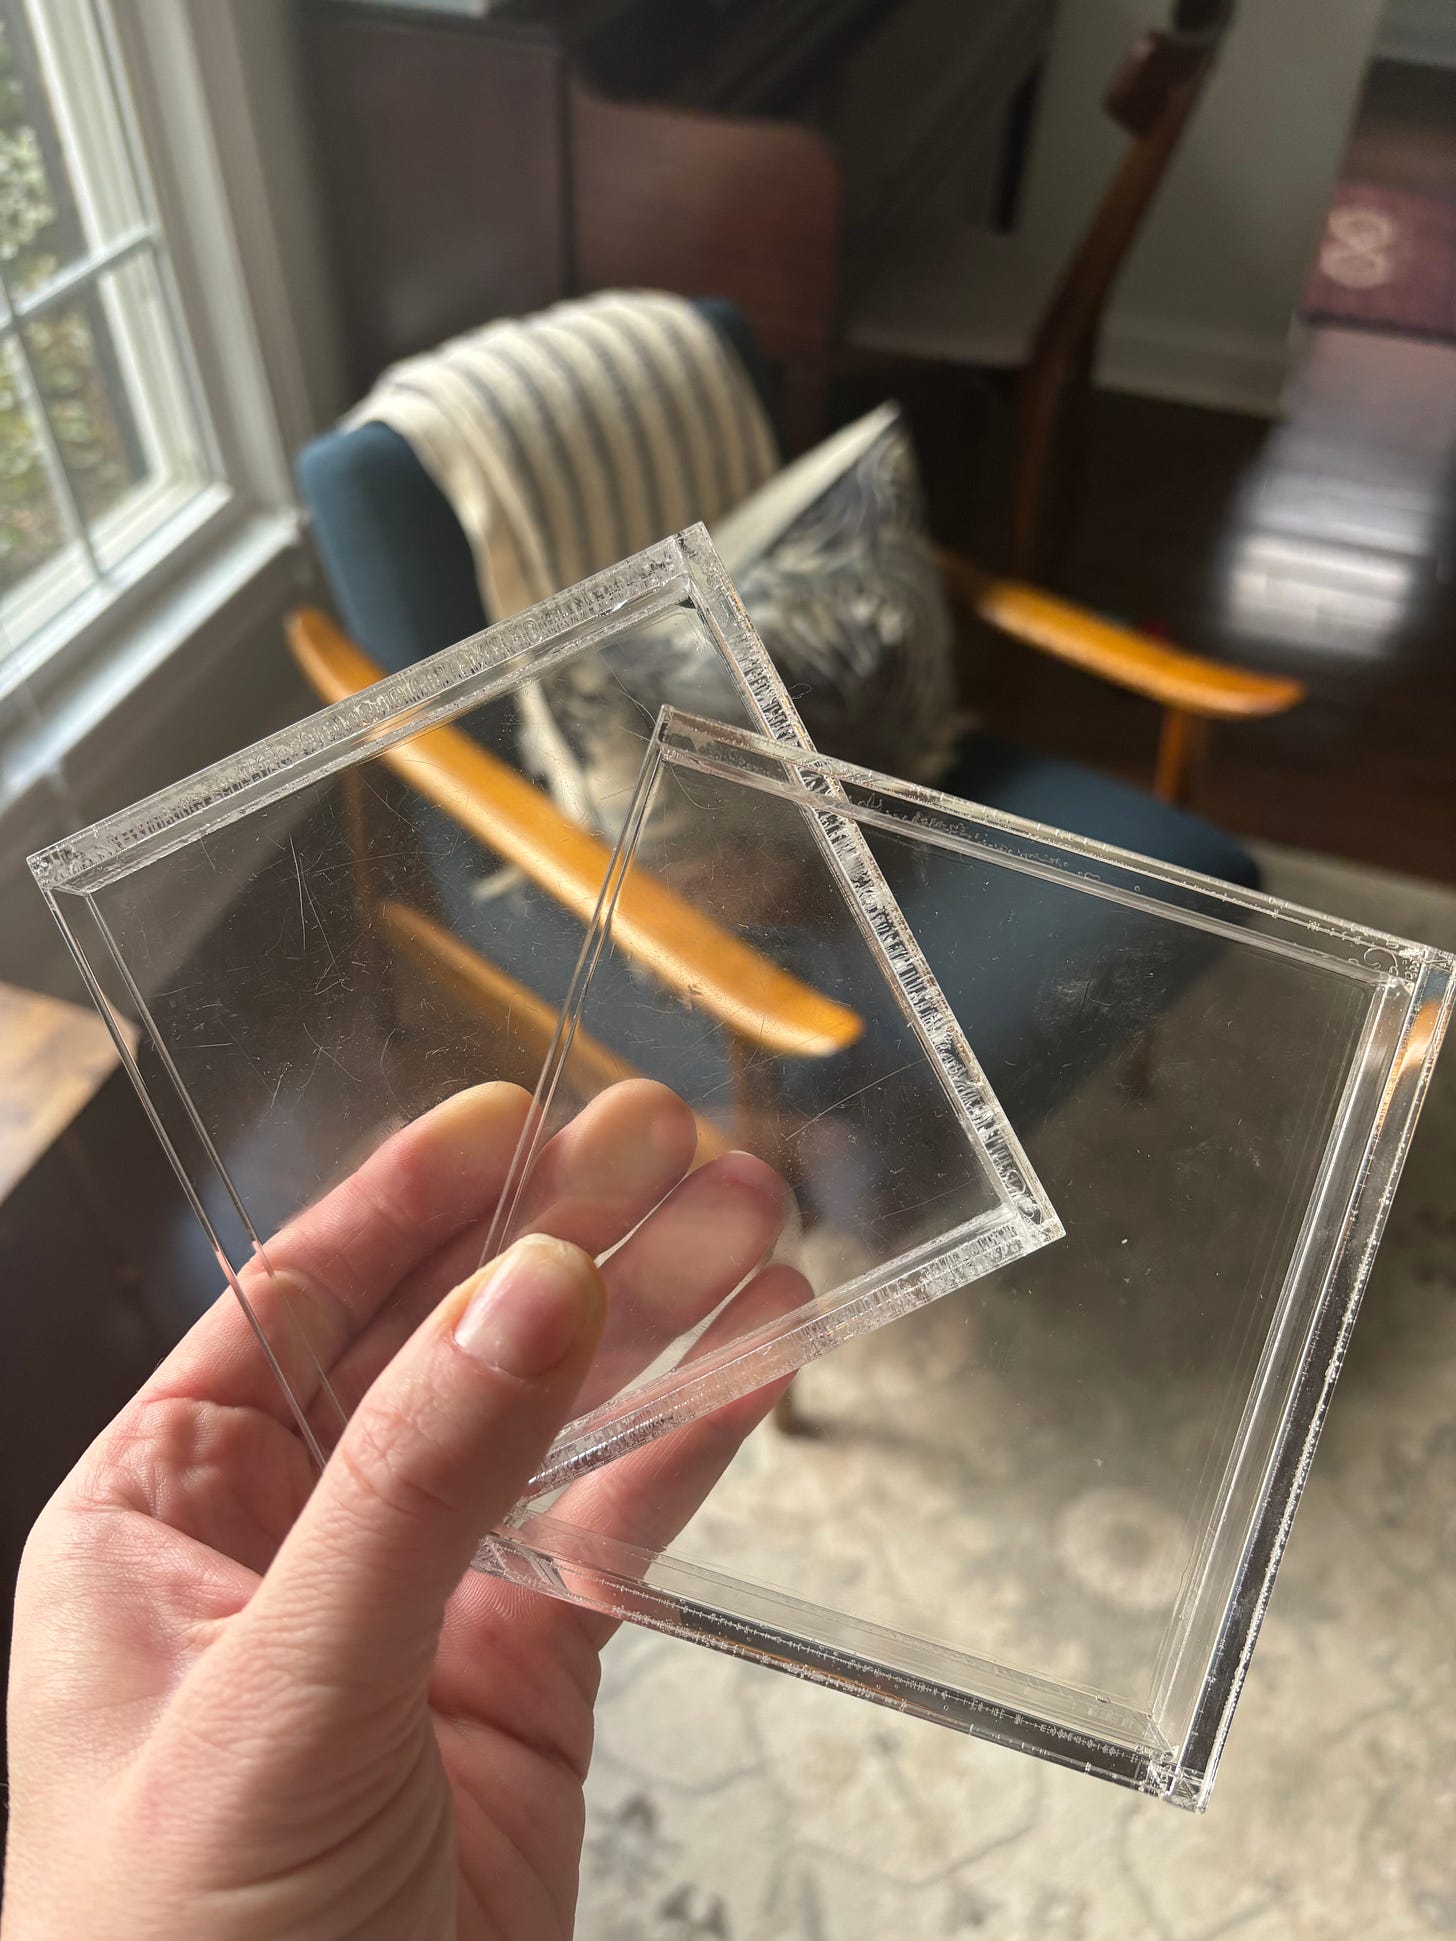
Comparing the quality of two acrylic coasters

I finish a lot of inserts for these three types of products mentioned above (magnetic, slide-in, and snap-in), but for the purposes of this article, I’ll focus on the slide-in products.
Some slide-in product options
All of these slide-in options great job at protecting your needlepoint in most cases, a high compliment coming from a mom of two boys. Therefore, my hesitation around this category is the expense, not necessarily the protection factor.


Sources
The most prevalent slide-in options are trays, coaster sets, and individual coasters. This large acrylic tray seems to be one of the most affordable options for the size (get 15% off as a new customer fyi!).
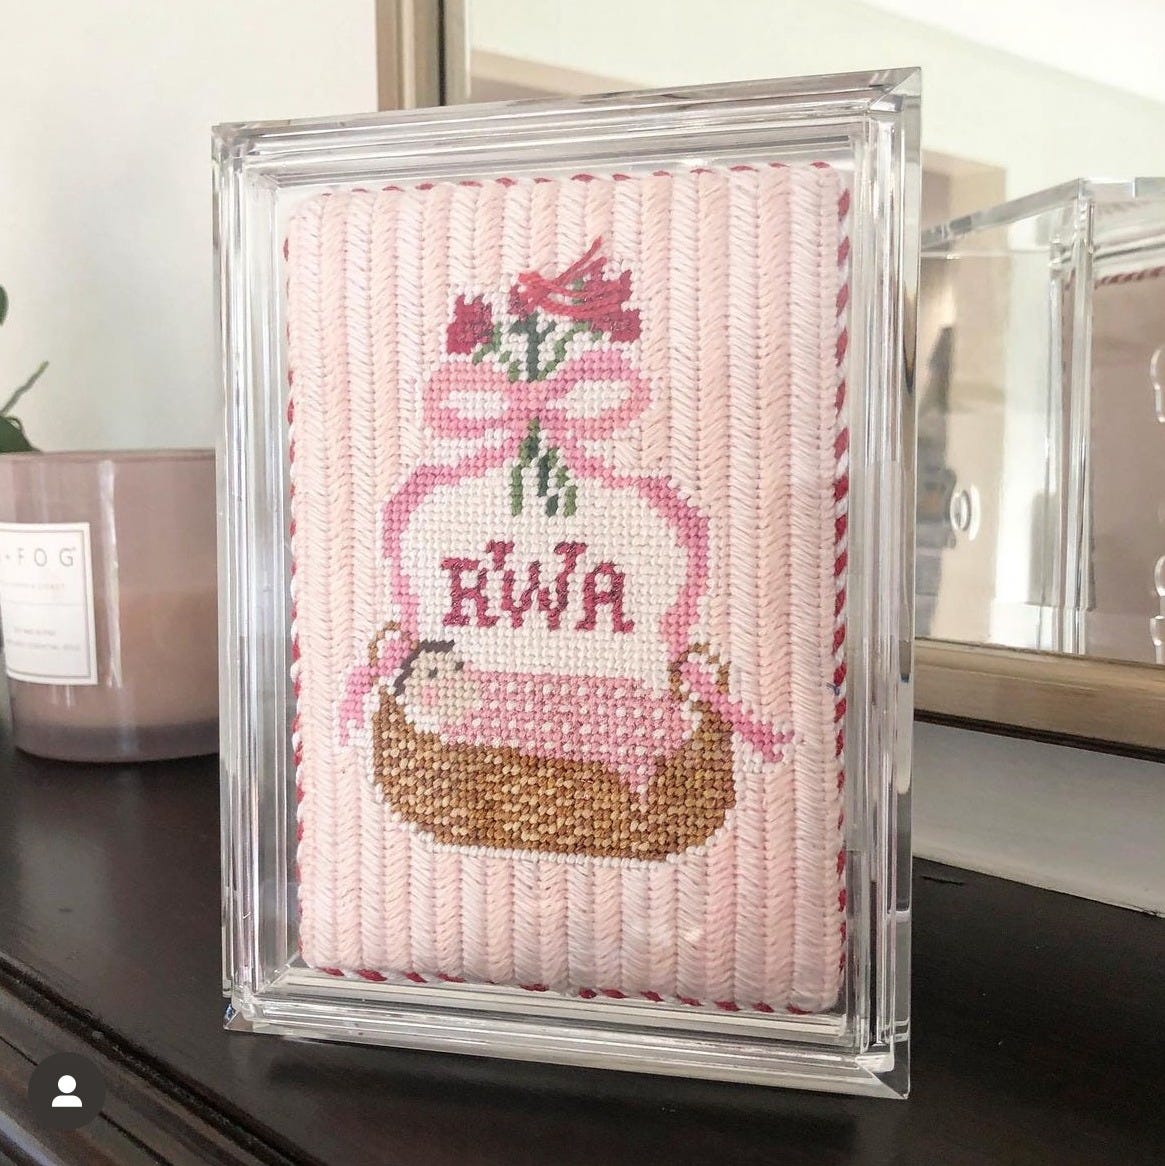
This acrylic frame is stocked by the Wool and the Floss (exclusive?) and I saw this box also on their website
I also love this acrylic box with sliding drawer developed by Spruce St. Studio stocked by KC Needlepoint but its expensive
And I’ve long had my eye on one of these candy boxes stocked by Stitch by Stitch and other needlepoint shops
Keep an eye out for shops running a full shop sale this holiday season.
Adapting a mass-market acrylic for needlepoint
Pros
Generally the most affordable
Readily available
Different formats than what’s available specific to needlepoint
Cons
Often the needlepoint is not fully encased or protected
Though many sizes are available, you may need to adapt your stitching to fit the acrylic
Be *really* mindful of the product depth to make sure a finished needlepoint project will fit in it
Acrylic Boxes
These boxes are one of my favorite needlepoint finishes because they are very affordable and they make cute candy boxes or keepsake boxes.
It holds together even with the weight of the needlepoint, but if there’s pressure inside of a too-thick insert, it will slip apart.
Tip: These are *not quite* 1/2” deep. For a good fit, use one layer of batting maximum and thinner cording (e.g. 8 strands of DMC).
Sources
Acrylic Clutch
These are super popular and are available at many LNS shops or even Amazon making them one of the most inexpensive needlepoint finishes.

Tons of canvases are now available in box clutch sizing. Look for 6.25 X 4” designs. (I like this I just hope both teams have fun canvas I’ve been eyeing from Solo Daughter Stitchery).
Unwind Studio offers a finishing video tutorial using a binding stitch and glue, Lita of Nashville Needlepointer also has this one, or you can also follow the tutorial I’ll release as part of this series.
Sources
Acrylic Box Clutch (Amazon)
Acrylic Box Clutch (Stitching Chicks, but many LNSes stock)
Acrylic Trays
These are super prevalent online and you can often find a size that works for your canvas online. The needlepoint typically sits within the tray walls and is typically covered with plexiglass to help protect it, but it’s not sealed in.
As an example, I just adore this tiger acrylic tray that Paige Skrickus @skrickstitches on Instagram) recently finished and had to absolutely spotlight this cuteness.

Process
Paige shares some helpful info on the self-finishing process in her caption
My DIY tiger acrylic tray has been getting a lot of love, and it was not very hard! I bought an acrylic tray on Amazon in a size similar to the canvas (11” x 14” - this baby is huge!), cut matboard about 10.5” x 13.5”, wrapped the canvas, laced it, and dropped it in! I am planning to have a piece of acrylic cut at Michael’s to fit on top to protect the needlepoint 🧡🐯
Get a piece of plexicut through your local frame shop, Michaels as Paige mentioned, or purchase plexi online and cut with an Xacto knife
Sources
Scouring the internet for a dupe
I’ll start by saying I really love Paige’s approach.
But like many finishers and stitchers, I’ve searched high and low for mass-market alternatives to go a little further to protect the needlepoint under the tray surface.
This is super hard to find. My flops include this tray (or any designed for paper) and this scallop tray with magnets, and these coasters. You could definitely still get plexi cut to cover a needlepoint piece within the interior well on the trays at least.
Tip: look for an opening 1/2” deep or more to accommodate your project.
Please dish if you find something mass-market that works for you. I’d love to see how you made it your own.
Finishing tips
For finishers & self-finishers
My biggest tip for finishing pre-made options is measuring properly for a snug fit and a more custom look. Order yourself some digital calipers to take accurate inside measurements because 4 inches surprisingly doesn’t always equal 4 inches. I’ll cover this in more detail in the tutorial coming up so make sure you’re subscribed.
Working with a finisher
Here are my 5 tips for working with a finisher on your acrylic.
How about you?
Have you tried any mass-market options? Do you have any other slide-in product options? What do you think the market needs?
Do you know where I can find a matchbook acrylic box? I have several completed ndlpt matchbooks- that might be a great option !!