

Finishing Tutorial: Mini 3D Sweater (aka Toppers)
Meet one of my white whales & learn how to finish your own

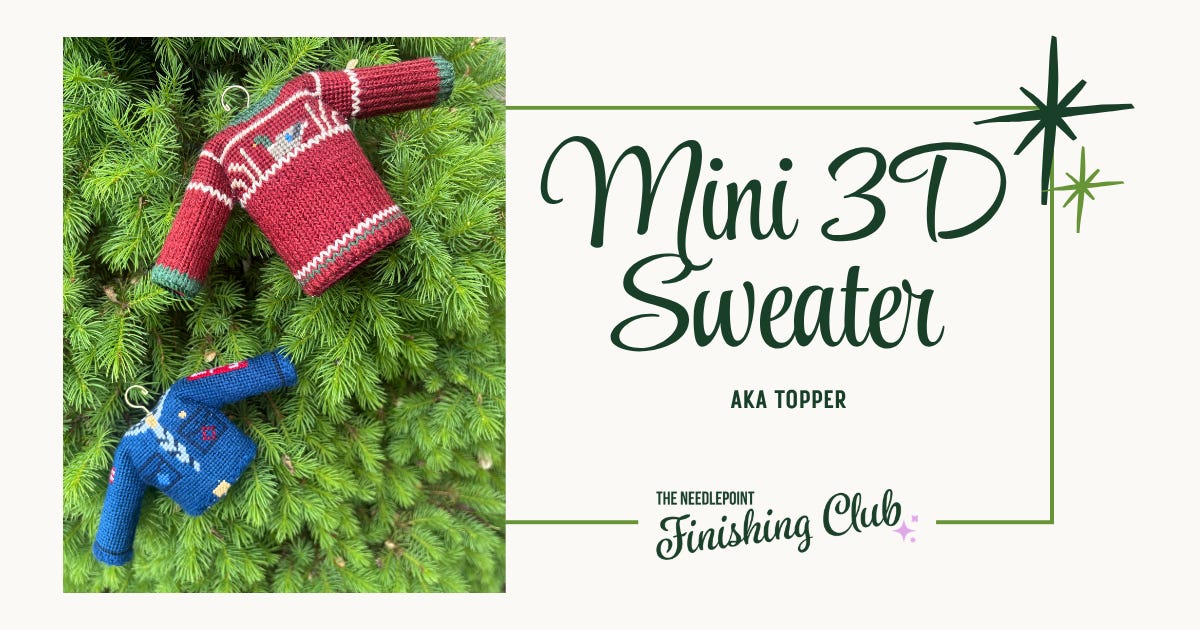
One of my finishing white whales has always been these tiny sweaters (also called Toppers) often designed by Studio Midwest. But I just could NOT figure out how they went together.
I stitched both of these last year, and started finishing them, but never finished. Turns out, all I had to do was KEEP going! These are fussy, but are totally doable once you have the stitch you need under your belt.
Finishing a Mini 3D Sweater (Topper)
Difficulty: 4/5 🪡🪡🪡🪡
I’m giving this one 4/5 needles because while its just a few steps, it is FUSSY. Since most of the Studio Midwest toppers are 13 mesh, it’s not as structurally secure as a 18 mesh 3D house. I’d suggest conquering other 3D assembly before moving to 13 mesh assembly.
Suggested Prerequisites
Ladder stitch - this technique is the basis of this construction and I highly suggest having this under your belt. Check out the video below for a tutorial.
Prep Work
Before you begin the finishing steps, complete the following prep work:
Block your canvas so it lies flat and even. You can find my article on blocking here.
Make a photocopy of your stitched canvas to use as a template for cutting the shape.
Gather your materials (see full list below).
Materials
Needlepoint, finished and blocked
Lining fabric, measured 1 inch wider on all sides of your photocopied canvas. I recommend something very thin, like a silk or a lawn/quilting cotton
Pins
Scissors
A sharp, thin needle (beading, curved, or my favorite - a number 7 sewing sharp needle)
Hanger (look for dollhouse scale)
You can find a full list of recommended finishing materials here.
Members will find the Detailed process video, step-by-step written instructions, and more tips below.
