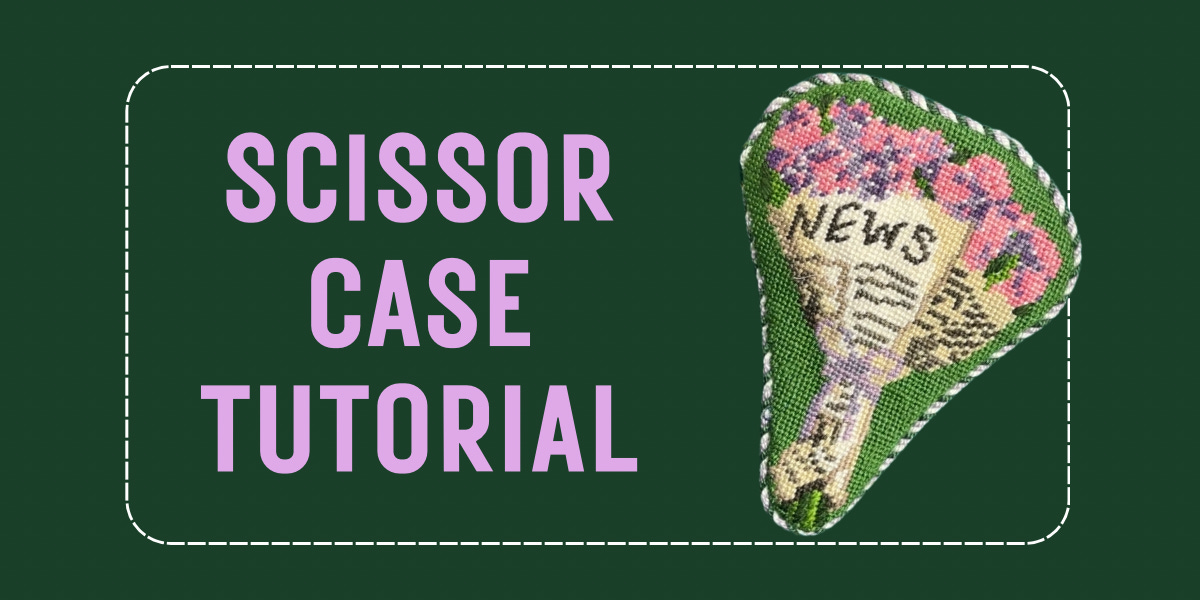
If you’re anything like me, your scissors are practically an extension of your hand, and they deserve a cozy home that’s as fabulous as your stitching (and, let’s be honest, having a scissors case is way cuter than tossing your scissors in the bottom of a project bag).
Grab your needlepoint, pour something sparkly, and let’s make some finishing magic.
Below, you’ll find the detailed process tutorial video, comprehensive list of materials and supplies, and written instructions.
Finishing a Scissor or Eyeglass Case
Difficulty: 3/5 🪡🪡
Prerequisites
Hand or machine sewing experience
Prep Work
Before you begin the finishing steps, complete the following prep work:
Block your canvas so it lies flat and even. You can find my article on blocking here.
Gather your materials (see full list below).
Materials
Needlepoint, finished and blocked
Fabric for the back (I used a velveteen, view recommendations here)
Lining fabric (for both sides)
Interfacing (2 small pieces for the magnet pocket)
Small flat magnet
Chopstick or point turner
Cording: I used 9 strands of DMC floss, 3 of each color, created with the Lacis cording maker
Pins
Scissors
Iron
For attaching the cording: Invisible Thread or Fishing Line
A sharp, thin needle for attaching your cording
Sewing clips aka Wonderclips
You can find a full list of recommended finishing materials here.
Note: This detailed video covers a scissor case tutorial, but you could follow the same process for an eyeglasses case, including the addition of magnetic closure.


