


Finish a Flat for an Acrylic Tray
step-by-step instructions, video, and calculator inside

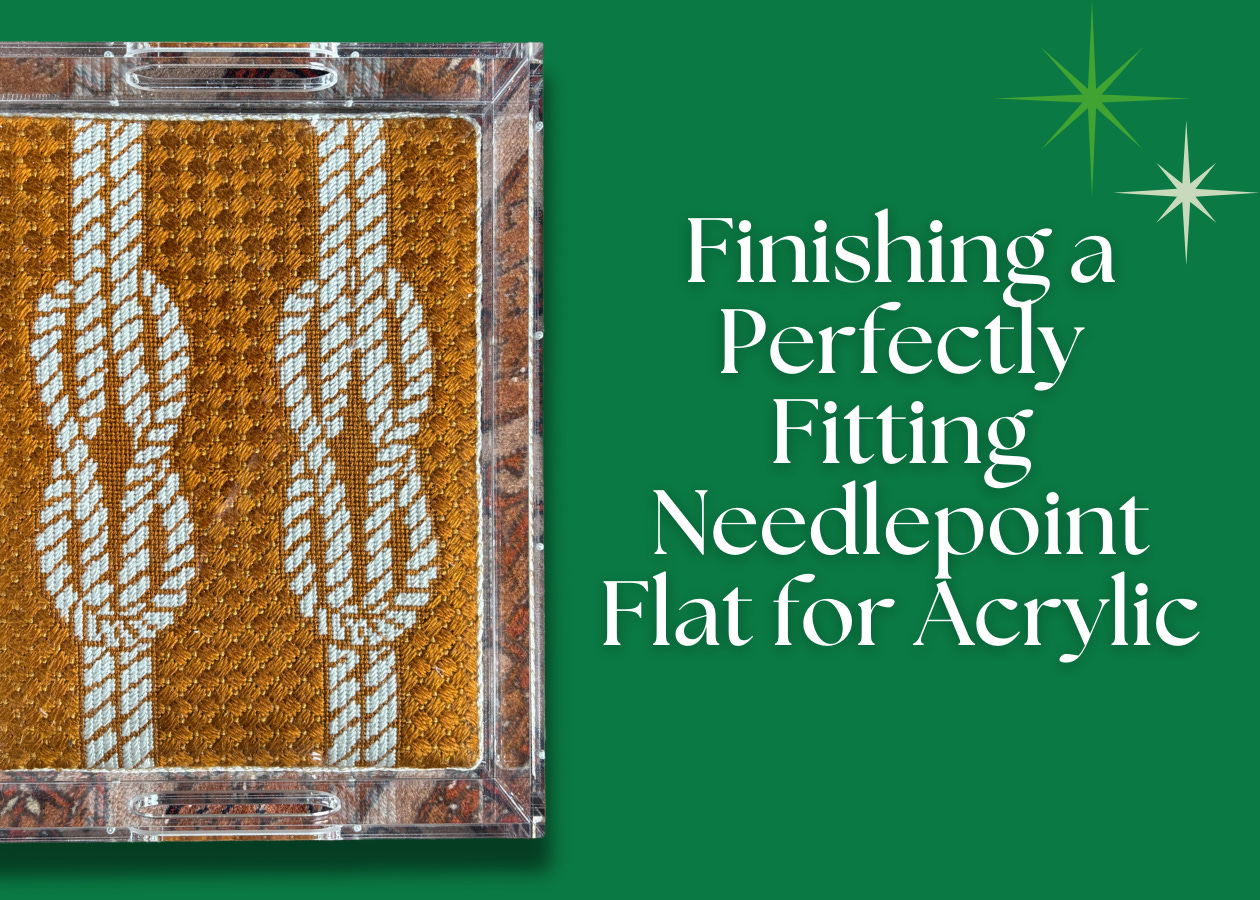
In the last article in the acrylic series, we’ll wrap with a tutorial of an insert for an acrylic tray. The biggest two differences between finishing an ornament and finishing an acrylic tray are: the cording join (no loop to hide those tails) and measuring properly for a snug fit.
I have seen stitchers simply pop an ornament in a tray so that’s absolutely an option too! What I’ll cover here is some finer points for seamless cording and accurate measurements.
In today’s post, you’ll find:
A detailed step-by-step process video
Written instructions
And a calculator for cutting your matboard to the right size without too much math
Degree of Difficulty
2/5 🪡🪡
Added one point for math and another for cording joining.
Prerequisites
You don’t really need any prerequisites for this project, but it may be helpful to see other examples of key concepts that this project uses.


Materials
Tray (View some pre-made suggestions in my previous post here. I’m using a magnetic tray).
Needlepoint, stitched and blocked (mine is by CBK artist Liora Manne and is originally 10x10 on 13 Mesh, source here)
the hero of this project, digital calipers
Scrap paper and pencil
Cording: I used DMC Pearle, created with the Lacis cording maker
Fabric lined with a fusible mid-weight fusible interfacing. Some fabric recommendations here. In the demo, I used an Ultrasuede that I did not line with interfacing.
Pins
Scissors
Iron or steamer
For lacing: DMC pearle cotton for lacing and tapestry needle
For attaching the cording: Invisible Thread or Fishing Line and a sharp, thin needle
You can find a full list of recommended finishing materials here.