


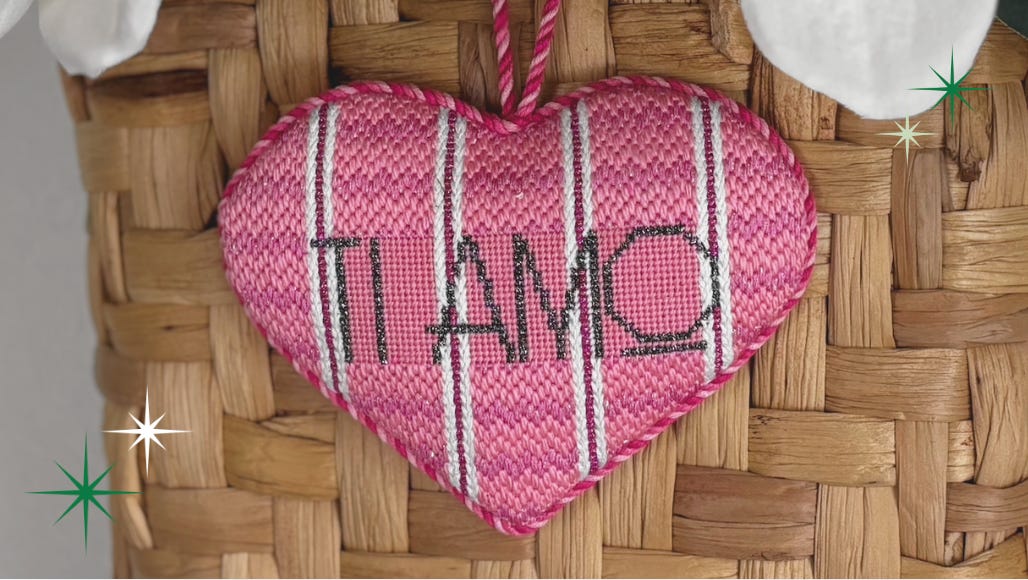
How to finish a needlepoint heart ornament
Mastering inner corners, outer points, and alternative methods for steps you use for each finish

Before we get to it, did you catch last week’s mini tutorial on a heart bag charm? If you missed it, its a cute one! I wanted to do a deeper dive heart tutorial because its a great special shape that helps you with some key foundational skills, especially inner corners and outer points.
Mini needlepoint bag charms with Meg Francez

If you’re on Tik Tok, you’ve seen Meg Francez’s viral bag charm videos. Bag charms are having a *moment* in needlepoint and for good reason. This may have sprung from the overall trend to Birkinify y…

If you’ve been a reader or friend for a while, you know that I really like to show you a few different ways to do things.
Here are a few highlights of what you can learn from this tutorial, even if you’ve done a heart before.
How to trace a special shape without any special tech
How and why you may want to trace your back board after the front for special shapes
How to add a puff to the front of your ornament
Special tips for lacing delicate tabs cut on the bias
My method for crisp sharp points to avoid fraying
Finishing a Needlepoint Heart Canvas
Difficulty: 2/5 🪡🪡
Prerequisites
Round ornament finishes may be helpful
Materials
Needlepoint, stitched and blocked.
Cording: I used 9 strands of DMC floss, created with the Lacis cording maker. Follow my video here.
Fabric lined with a fusible mid-weight fusible interfacing. I used a silk dupioni.
Pins
Scissors
Iron
For lacing: DMC pearle cotton for lacing
For attaching the cording: Invisible Thread or Fishing Line
A tapestry needle for lacing your canvas
A sharp, thin needle for attaching your cording (number 7 sharps are my go-to)
Leather thimble, optional
You can find a full list of recommended finishing materials here.
